This article is targeted to local installations. Orcanos cloud works with secured connection
Orcanos supports non-secured connection (HTTP) and secured connection (HTTPS)
In order to apply secured connection you need to follow these steps:
IIS Changes
- Install SSL and assign an address, such as https://orcanos.yourdomain.com. The URL for connecting will be https://orcanos.yourdomain.com/orcanos/web
- If you want to only enable secured connection, you need to setup redirect rule in your server from HTTP to HTTPS:
- Install the Rewrite Rule module: http://www.iis.net/learn/extensions/url-rewrite-module/using-the-url-rewrite-module
- Follow the instructions: http://stackoverflow.com/questions/46347/iis7-http-https-cleanly
DB Changes
- If you have used other address before (such as IP based rules), you need to run ChangeFtpLocation to replace all image and file URL’s from the IP to the new secured address
Software Configuration
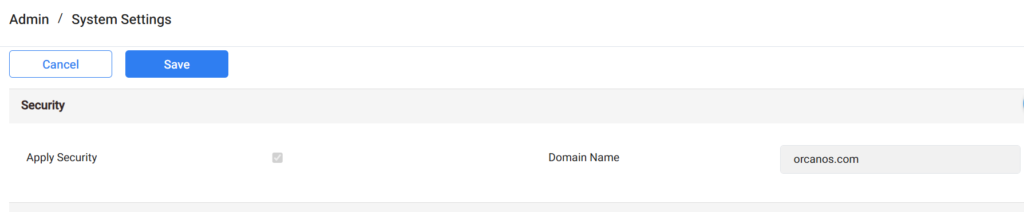
- In Admin-system settings (Admin > System Configuration – System Settings), set the following, using YOUR OWN DOMAIN
Configuration file
- In Orcanos folder (~qpack\qpackweb_new), open the web.config file
- Change the webServiceHost value to call the web service using the secured URL, in the following format: https://orcanos.yourdomain.com/qpack/qpackserv/qpackserv.asmx

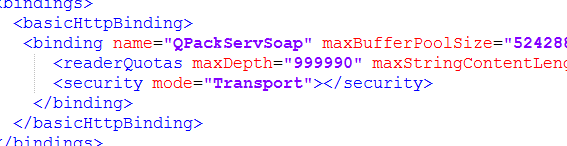
- Change the security mode to “Transport” [you need to un-comment this value]
- Open the FTP folder (~qpack\qpackFtp)
- Do the same changes to the web.config in this folder
This change shall be done on each upgrade