Overview
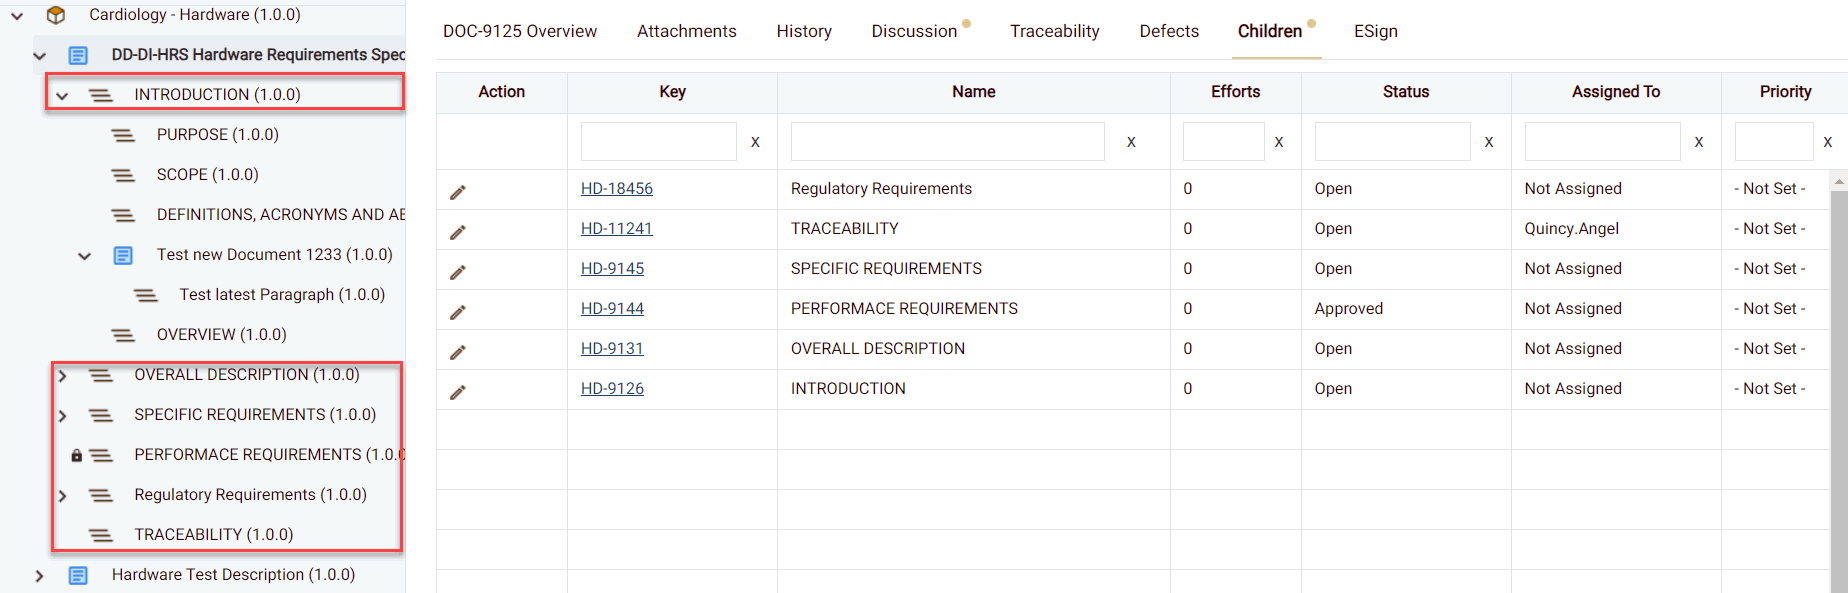
The Children tab allows users to view all child items under the ‘Parent’ Item (Level 2) and provides option to add, update, or delete child items directly from the tab. It lists all the Child Items (Level 1) under the ‘Parent’ Item (Level 2).
The order of items listed in Product Tree and Children Tab may vary.
Enabling the Children Tab from Admin
- Navigate to Admin from the sidebar.
- Under the ‘System Customization’ window, click on ‘Work Items‘.
- Locate the Work Item to which you want to add the ‘Children’ tab and click on the Work Item hyperlink in the ‘Work Item Code’ column.
- Click on the ‘Tabs‘ tab.
- Enable the checkbox next to ‘Children‘ tab.
From 5.2.6, Children Tab will be visible both in Tree view and List view
How to Add/Update/Delete Children from the Children Tab
-
Add a Child Work Item
- In the Children tab, click the Add (+) button located in the bottom right corner.
- Select the Work Item Type from the list (based on Hierarchy Settings in Admin).
- The new child work item gets created under the selected work item.
-
Update a Child Work Item
- In the Children tab, select the child item.
- Click the Edit (✏️) button on the actions column to modify the item.
- To update multiple child items at once, check the checkboxes next to the items you want to edit and click the Mass Update button (✏️) in the top right corner.
-
Delete a Child Work Item
- In the Children tab, select the child item.
- Click the Delete (🗑️) button on the actions column to remove it.
- To delete multiple child items at once, check the checkboxes next to the items you want to delete and click the Multi Delete button (🗑️) in the top right corner.
